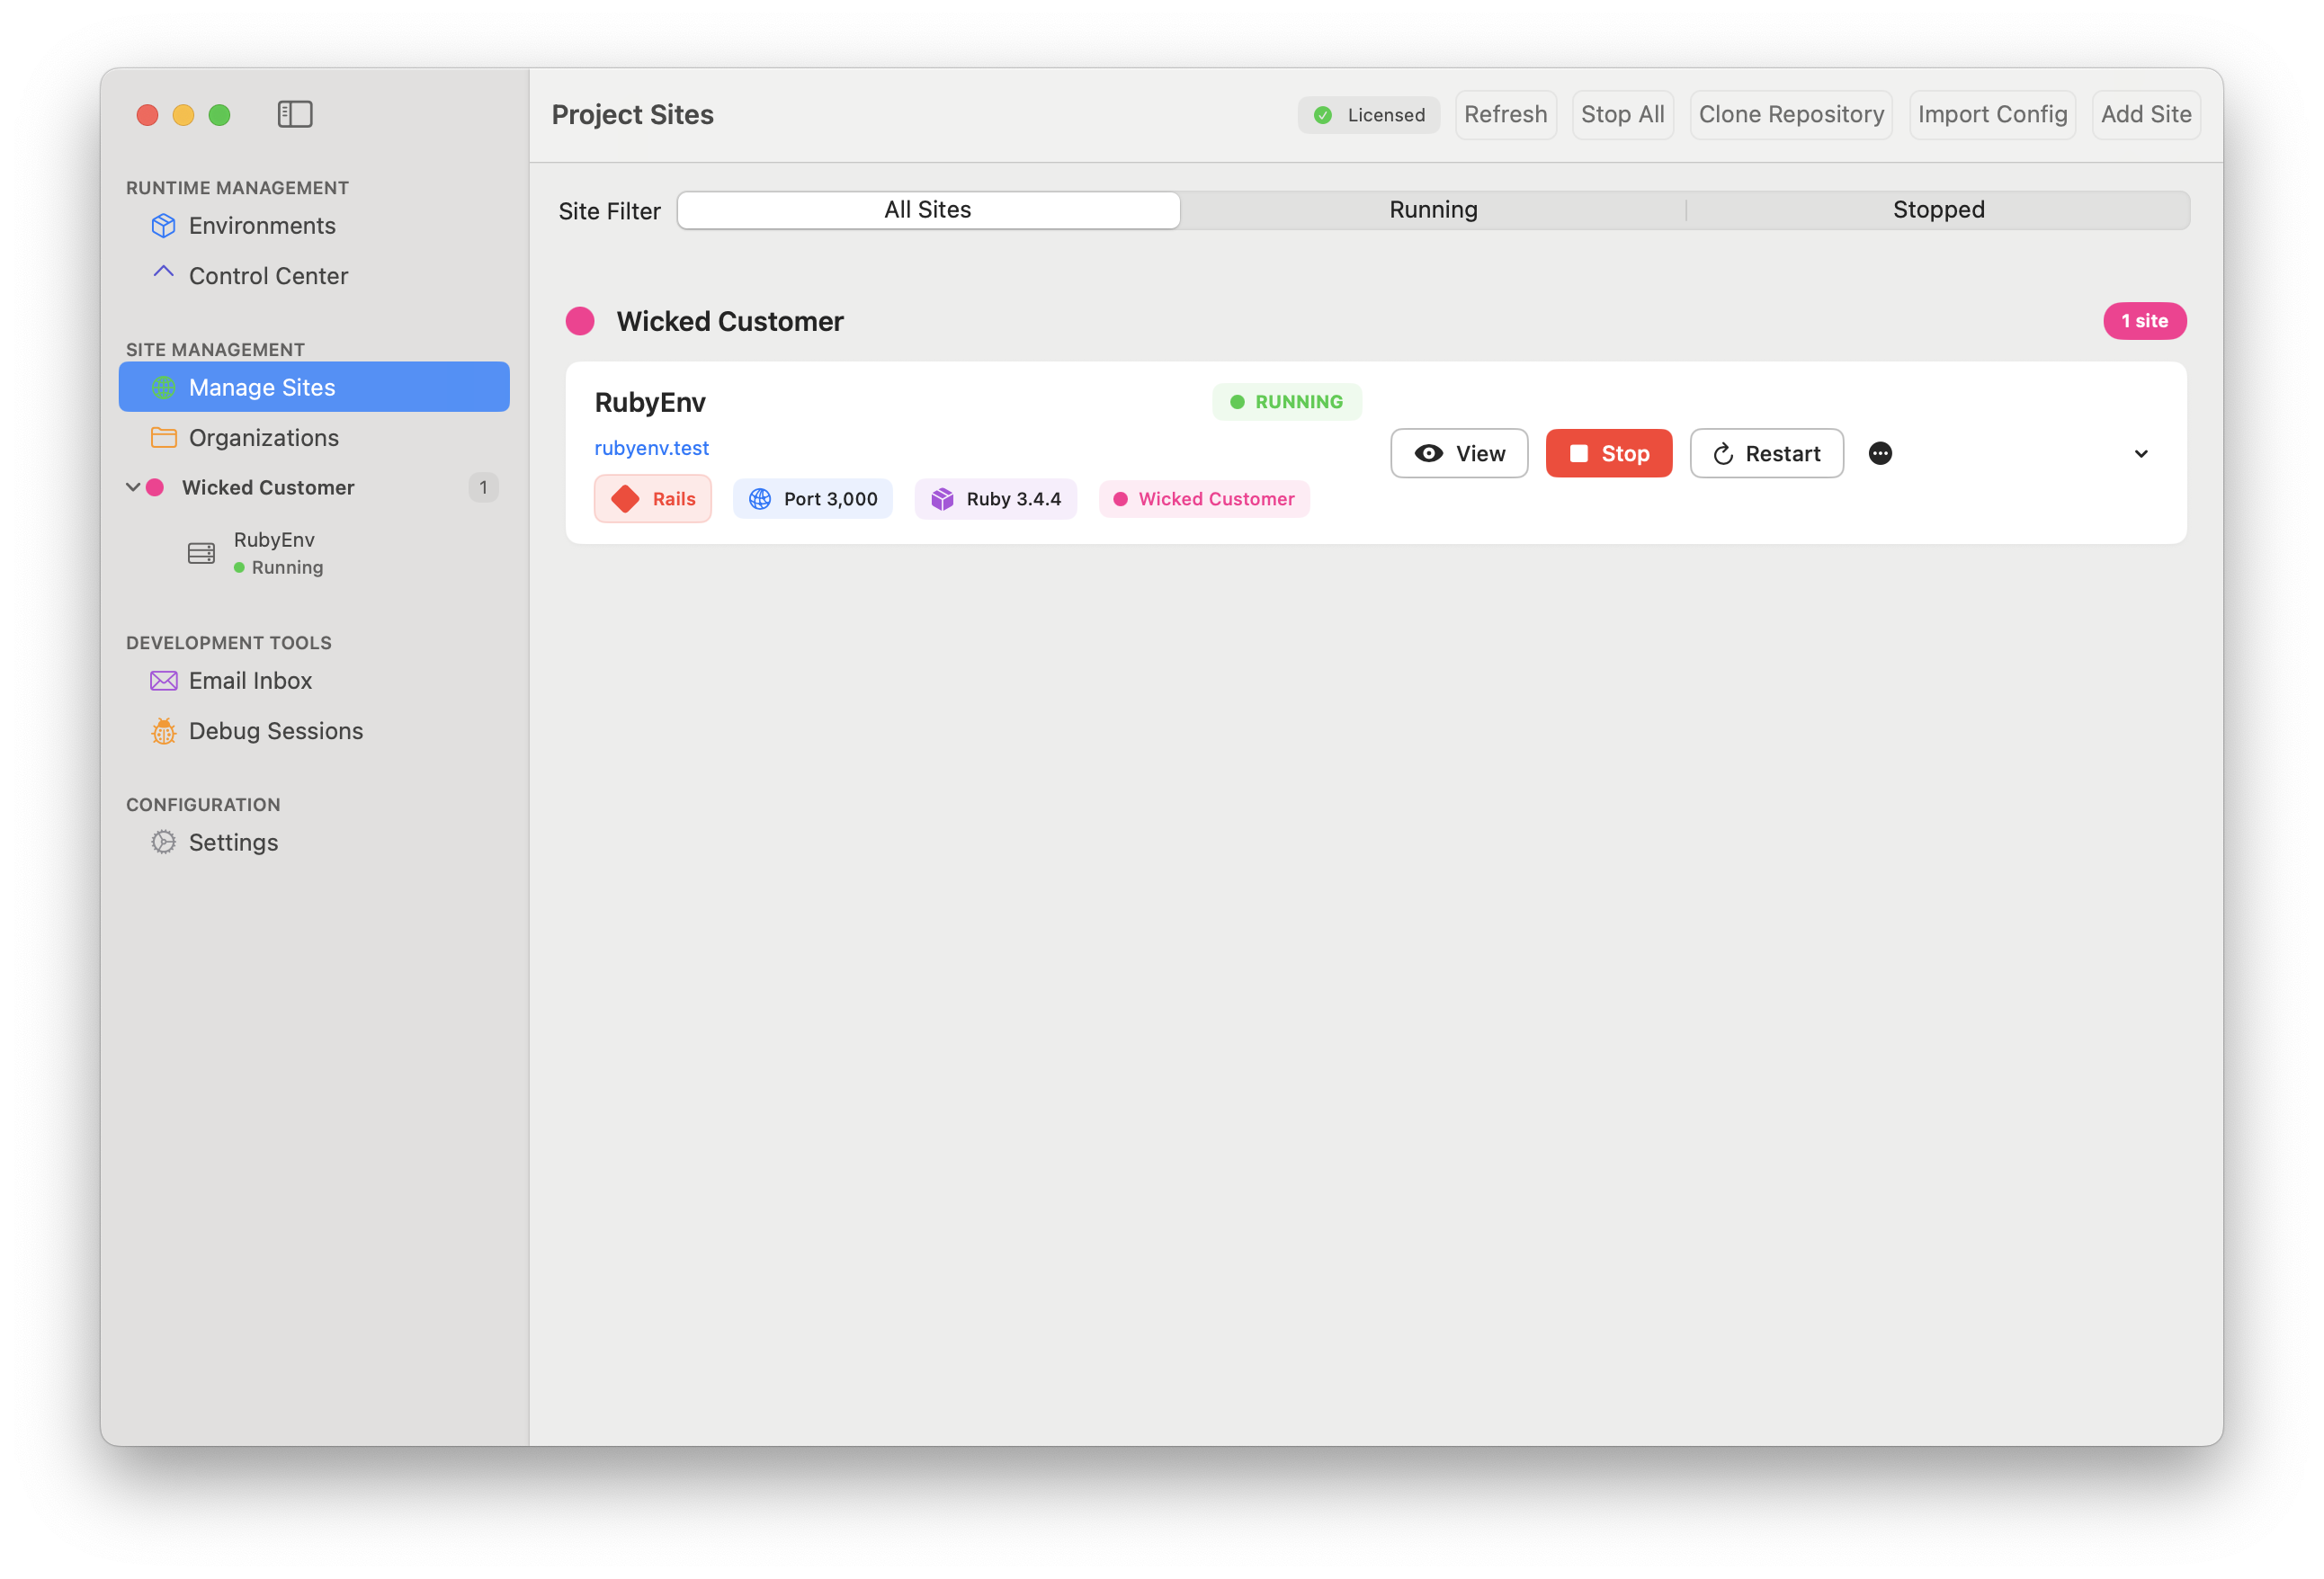
Managing Sites
Sites are the core of RubyEnv, allowing you to manage multiple Ruby on Rails, or even Node.js applications seamlessly. Each site can have its own Ruby version, gems, and configurations, making it easy to work on different projects without conflicts.
🛠️ How to Create a New Site in RubyEnv
RubyEnv makes it simple to spin up a new Rails app with just a few clicks. Here’s how to create a new site from scratch:
1. Start the Site Creation Process
In the Manage Sites section, click the Add Site button at the top right of the app.
2. Choose a Template
You'll be presented with three options:
- New Rails Project – ✅ Recommended for fresh apps
- Link Existing Project – to connect a local app
- Clone from Git Repository – to clone from GitHub, GitLab, etc.
Select New Rails Project, then click Next.
3. Configure Your Rails Application
🔧 Rails Application Type
- Standard Rails App – with views, assets, and full functionality
- API Only – for backend-only apps
- Minimal Rails App – with only the essentials
🎨 Frontend Configuration
Choose your frontend stack:
Tailwind + Import Maps(default & modern)Bootstrap + esbuildSass + WebpackBulma + Rollup
Click Next to continue.
4. Finalize Site Settings
- Project Name – Name your Rails app
- Project Path – Choose where it should be created
- Ruby Environment – Select which Ruby version to use
- Initialize a Git repository – Optional, but recommended ✅
A preview of the command that will be run will look like:
rails new myapp --css=tailwind --javascript=importmapClick Create Site to generate your new project 🎉